この記事は、GWアドベントカレンダー Noodlもくもく会の5日目の記事です!
https://gw-advent.9wick.com/calendars/2020/70
Tracking.jsとは
顔や色の検出など、ちょっとした画像認識ができるJavascriptのライブラリです。
https://trackingjs.com/
今回は、カメラを使って顔を検出するライブラリを使ってみたいと思います。
https://trackingjs.com/examples/face_camera.html
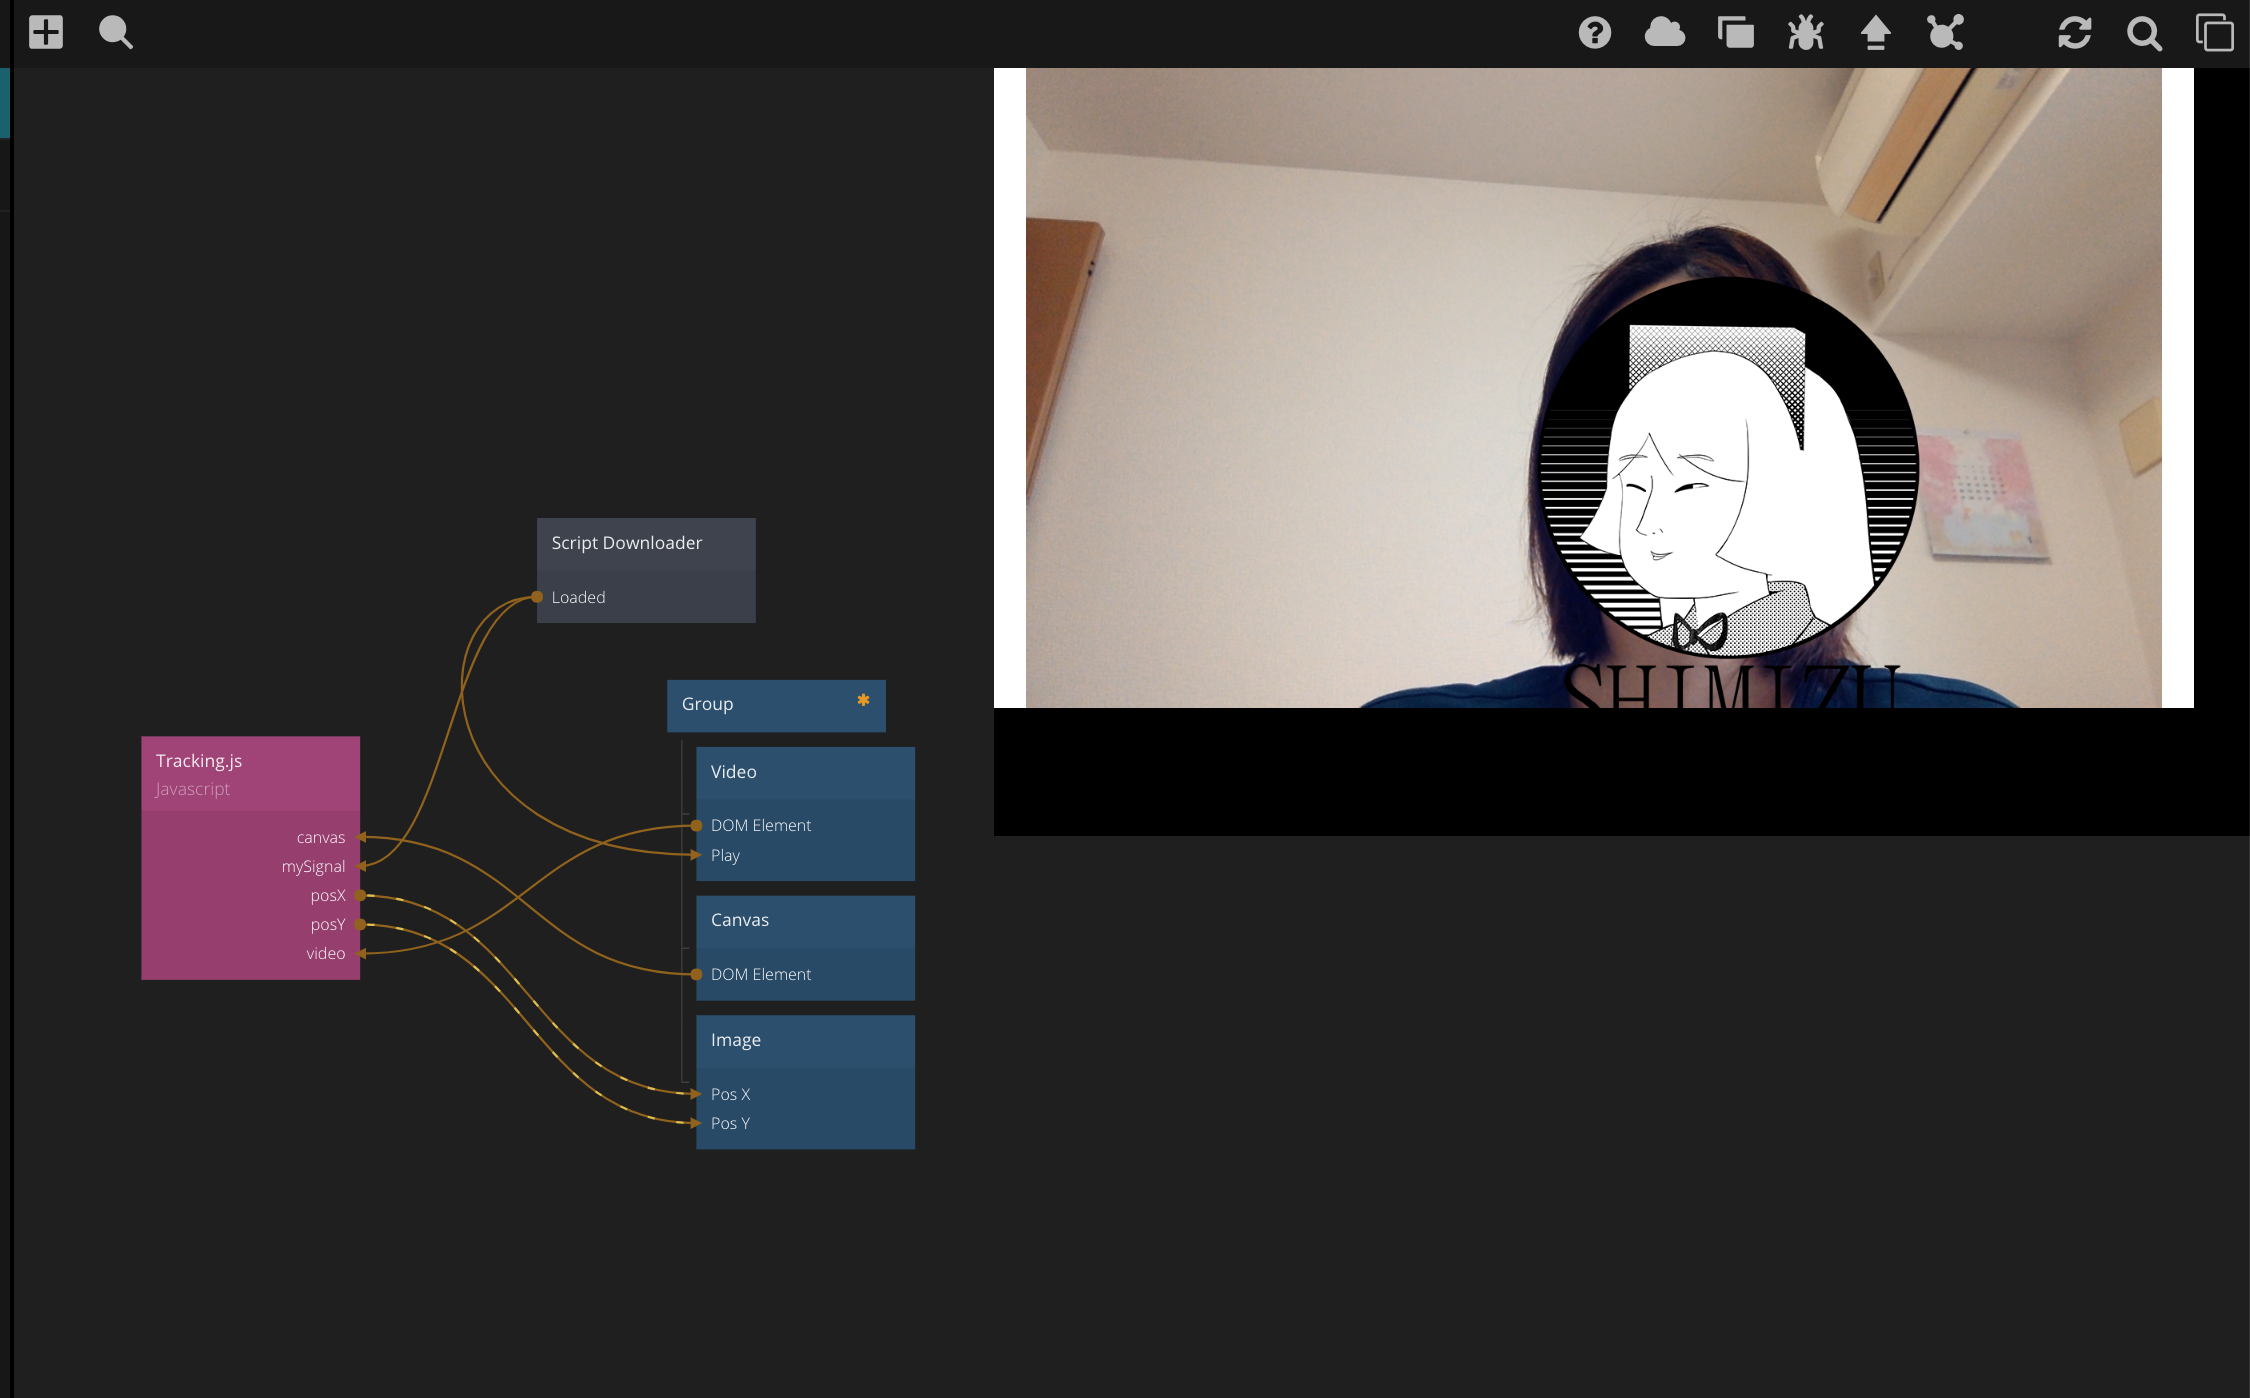
ちょっと笑い男感がある仕上がり...
準備
Tracking.jsで必要なライブラリをダウンロード
https://trackingjs.com/docs.html#introduction にアクセスし、
To get started, download the project.のリンクから、tracking.js-master をダウンロードします。
全部使うわけではないので、必要なものだけ取り出しておきます。
必要なライブラリ
buildディレクトリまるごと取り出しておいてください。
build/
  data/
  tracking.js
  tracking-min.js
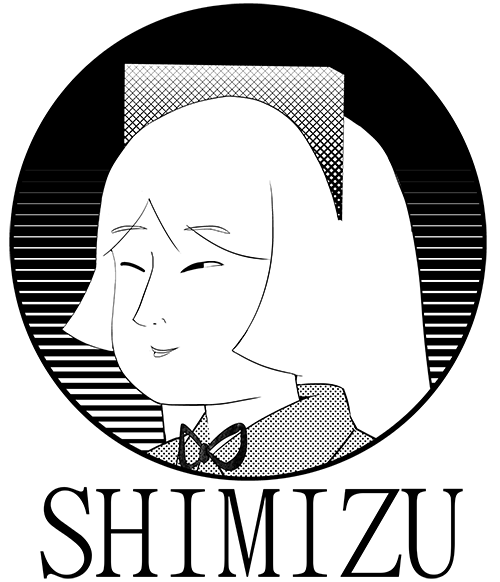
画像
下記画像を保存してください。
Noodl
新しいプロジェクトを作成
準備でダウンロードしたライブラリ(buildディレクトリごと)と画像をNoodlプロジェクトに格納してください。
Script Downloaderノード
External Scriptに2つのパスを入力します。
- build/tracking-min.js
- build/data/face-min.js
Javascriptノード
Javascriptノードを作成し、下記コードをコピペ
define({
    // The input ports of the Javascript node, name of input and type
    inputs:{
        // ExampleInput:'number',
        // Available types are 'number', 'string', 'boolean', 'color' and 'signal',
        mySignal:'signal',
        video:'domelement',
        canvas:'domelement',
        img:'reference'
    },

    // The output ports of the Javascript node, name of output and type
    outputs:{
        // ExampleOutput:'string',
        posX:'number',
        posY:'number'
    },

    // All signal inputs need their own function with the corresponding name that
    // will be run when a signal is received on the input.
    mySignal:function(inputs,outputs) {
        // ...
        var _this = this;
        inputs.video.setAttribute("id",'video');
          var video = inputs.video;
          var canvas = inputs.canvas;
          var context = canvas.getContext('2d');

          var tracker = new tracking.ObjectTracker('face');
          tracker.setInitialScale(4);
          tracker.setStepSize(2);
          tracker.setEdgesDensity(0.1);

          tracking.track('#video', tracker, { camera: true });

          tracker.on('track', function(event) {
            context.clearRect(0, 0, canvas.width, canvas.height);

            event.data.forEach(function(rect) {
                outputs.posX = rect.x;
                outputs.posY = rect.y;
                _this.flagOutputDirty("posX");
                _this.flagOutputDirty("posY");
            });
          });
    },

    // This function will be called when any of the inputs have changed
    change:function(inputs,outputs) {
        // ...
    }
})
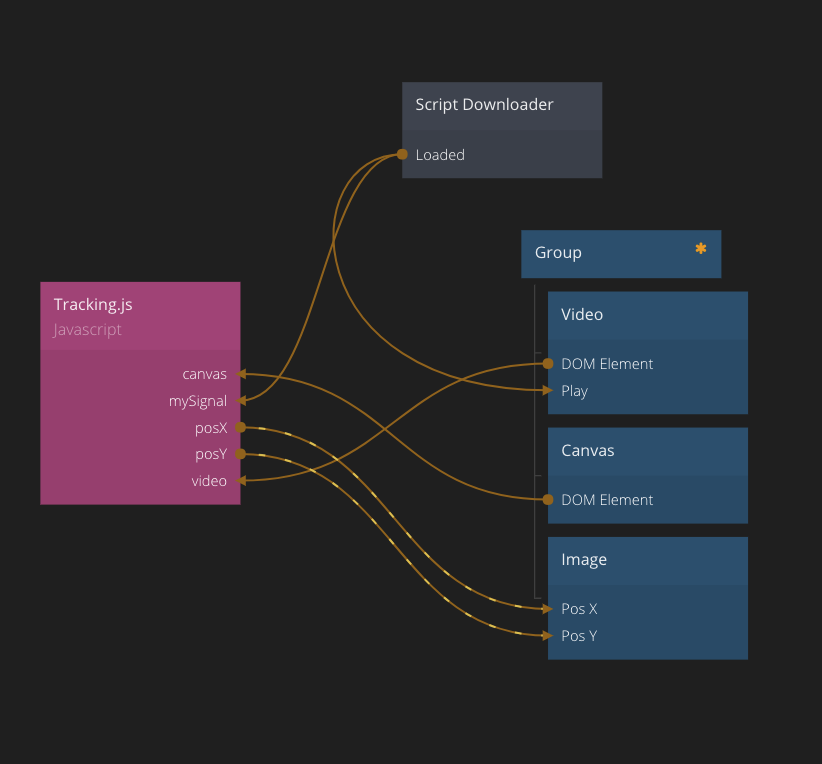
ノードを作成してつなぐ
下記のようにノードを作成し、つなげてください。
Groupノードの設定
- Width: 600px
- Height: 320px
※適当でよいのですが、比率でなくpxで指定してください。
Videoノードの設定
- Autoplay にチェック
Imageノードの設定
- SizeMode: Content Height
- Width: 200px
- Source: 先程ダウンロードした画像を選択
- Position: Absolute
Canvasノードは特に設定いりません。
これで完成です!
残っている課題
この書き方だと、一人しか検出できません。2人映ると二人の顔の位置を画像が交互に行き来してしまいます。
NoodlのCreateComponentAPIなどを使って、Javascriptノード内にすべて書いたほうがいいかもしれない?