こちらは、下記の #GWアドベントカレンダー の 7日目の記事です。
●日数分だけ記事を書く!( @youtoy ) | GWアドベントカレンダー
https://gw-advent.9wick.com/calendars/2020/69
はじめに
昨日投稿していた以下の記事と同様に、今回の内容をやろうとしたきっかけは、Raspberry Pi とカメラを使うハンズオンに参加したことです。
●Mac のターミナル・Node.js でのカメラ画像取得: imagesnap とnode-webcam( #GWアドベントカレンダー 5/4 ) - Qiita
https://qiita.com/youtoy/items/708486d1fe4861643e0f
昨日の記事は、Mac の内蔵カメラをターミナルや Node.js のプログラムで扱う話でしたが、今回は Raspberry Pi上で同様のことをやってみる話です。
fswebcam の導入
昨日書いた記事で、Mac のターミナルでカメラ画像を取得する際は「imagesnap」を使いましたが、今回は「fswebcam」を使います。
なお、今回の記事の内容を試した環境は以下の通りです。
● ハードウェア: Raspberry Pi 4 Model B
● OS: Raspbian Buster
● カメラ: Logicool Webカメラ Pro 9000
今回、Raspberry Pi の基本的な準備は整っている前提で話を進めます。
詳細には触れませんが、Raspberry Pi のセットアップに関しては、Raspberry Pi Imager を使うと便利です。セットアップから始める場合は、以下の記事などを見てセットアップを行ってみてください。
●Raspberry Pi ImagerのセットアップからSD書き込み方法まで - Qiita
https://qiita.com/karaage0703/items/79e09db0ef3ebcf94882
それでは、fswebcam のセットアップへと進みます。
自分が昨日参加したハンズオンの資料の 20ページ目の手順にある通り、実行するコマンドは以下の通りです。
$ sudo apt install fswebcam
また、Raspberry Pi に USBカメラを接続して、それが認識されているかを確かめます。
以下のコマンドを実行します。
$ lsusb
# 以下は実行結果の一部
Bus 001 Device 003: ID ????:???? Logitech, Inc. QuickCam Pro 9000
上記の実行結果で、デバイス 4つ分くらいが表示されましたが、その中に今回使っているカメラ(Logicool Webカメラ Pro 9000)に該当するものが出てきていました。
そして、fswebcam を実行してみる前にもう1つ、カメラデバイスを指定するのに使う名前を確認してみます。
$ ls /dev/video*
# 以下は実行結果
/dev/video0  /dev/video1  /dev/video10  /dev/video11  /dev/video12
上記のコマンドを実行した結果、上記 5つが出力されました。
この 5つ表示されたものの話について軽くググって見ると、以下の記事の記載を見つけました。以下を読むと /dev/video0 か /dev/video1 のどちらか一方が利用可能なもののようです。
●Webカメラでこまったらまずこれをやれ - Qiita
https://qiita.com/naoppy/items/74bdfa8216c7223f584b
私のラズパイ4では、1つのwebカメラに対して2つデバイスファイル(video0とvideo1)が作られる仕様になっているようです。
しかし、プログラムで使うときはどちらか片方は使えますが、もう片方は失敗するようです。
また、グラフィックチップもvideo10, video11, video12として認識されているようです。こういうのは無視して大丈夫です。
それではいよいよ fswebcam での画像取得を試してみます。/dev/video0 と /dev/video1 の両方を試したところ、自分の環境では /dev/video0 で画像を取得できました。
$ fswebcam -d /dev/video0 -r 320x240 --no-banner -q output.jpg

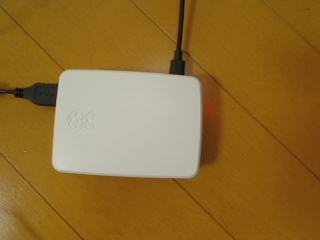
実行した結果の画像として、以下を得ることができました。
Node.js でのカメラ画像取得
それでは、Raspberry Pi の上で Node.js を使ったカメラ画像取得をやってみます。
利用するのは、昨日の記事の「Node.js でのカメラ画像取得」の項目に記載している node-webcam です。
導入方法は以下のとおりです。
$ npm install node-webcam
そして、プログラムは公式サンプルをベースに、少しオプションの値を変えた以下のようにしてみました。
var NodeWebcam = require( "node-webcam" );

//Default options
var opts = {
    //Picture related
    width: 320,
    height: 240,
    quality: 100,

    //Delay in seconds to take shot
    //if the platform supports miliseconds
    //use a float (0.1)
    //Currently only on windows
    delay: 0,

     //Save shots in memory
    saveShots: true,

    // [jpeg, png] support varies
    // Webcam.OutputTypes
    output: "jpeg",

    //Which camera to use
    //Use Webcam.list() for results
    //false for default device
    device: "/dev/video0",

    // [location, buffer, base64]
    // Webcam.CallbackReturnTypes
    callbackReturn: "location",

    //Logging
    verbose: false
};

//Creates webcam instance
var Webcam = NodeWebcam.create( opts );

//Will automatically append location output type
Webcam.capture( "test_picture", function( err, data ) {} );

//Also available for quick use
NodeWebcam.capture( "test_picture", opts, function( err, data ) {
});

//Get list of cameras
Webcam.list( function( list ) {
    //Use another device
    var anotherCam = NodeWebcam.create( { device: list[ 0 ] } );
});

//Return type with base 64 image
var opts = {
    callbackReturn: "base64"
};

NodeWebcam.capture( "test_picture", opts, function( err, data ) {
    var image = "<img src='" + data + "'>";
});
サンプルで手を加えた箇所は、以下になります(両方とも、サンプルに手を加えた後のものです)。
var opts = {
    //Picture related
    width: 320,
    height: 240,
    quality: 100,
    //Which camera to use
    //Use Webcam.list() for results
    //false for default device
    device: "/dev/video0",
上記の 1つ目については、width: 640、height: 480 の設定でも試してみました。
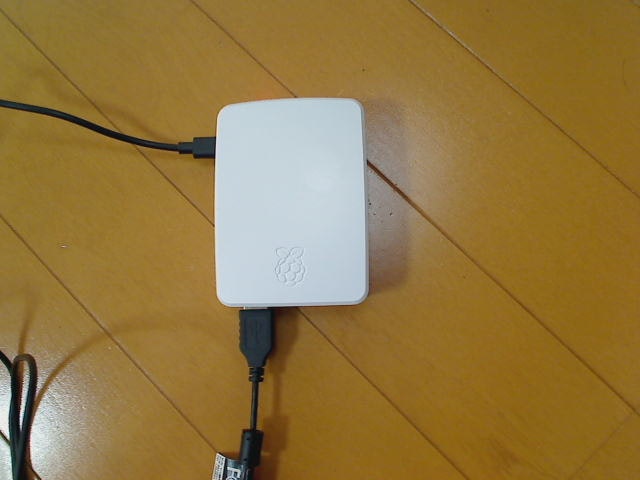
以下の画像の 1つ目が width: 320、height: 240、画像の 2つ目が width: 640、height: 480 にしたものです。
無事に指定した解像度で画像を取得できました。
おわりに
今回、Raspberry Pi のターミナル上で USBカメラから画像を取得する方法と、さらに Node.js のパッケージを利用して画像を取得する方法とを試しました。
これらを発展さえた内容は、別途やってみようと思います。


